Can you believe my burlap wreath is entering it's 3rd Season.
FALL!
In the Spring, it all started with the wreath tutorial here and the mossy bunnies.

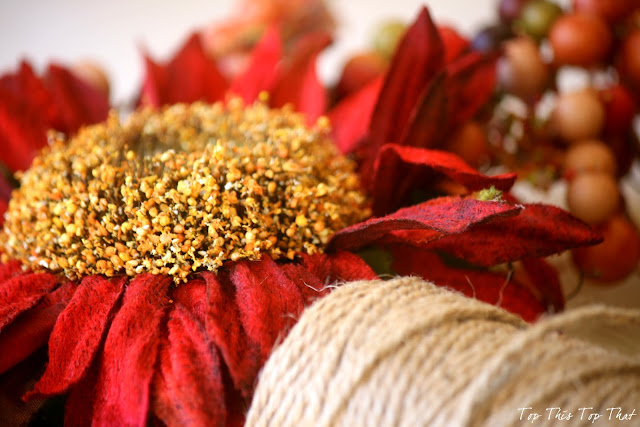
For my fall wreath I choose rich fall colors of orange, green and red. I selected an artificial sunflower and some berry picks and mixed them in with some natural cat tails.
Group your stems together and secure with a plastic tie
Wrap jute around the plastic tie to conceal and wrap your stems
Secure on the wreath with a piece of jute so that it blends with your wreath . Tie the jute around your the rim on the back of the wreath, to hold your arrangement in place.
For my initial, I used both an orange and cooper color to complement the other colors in the wreath. First I sprayed the sides of the letter orange and then I sprayed the top of the letter in cooper. I secured with a dab of glue. You can also use jute to tie it in as well.
I will certainly enjoy this wreath during the Fall season. Rumor has it ( according to the bunnies ) that burlap does not like the cold, so I am not sure if it will see Winter!
It’s easy! Just enter your e-mail address.


0 comments:
Post a Comment