So, exactly how many bottles of my favorite wine does it take

to make this combination cork/chalk board that I showed you here


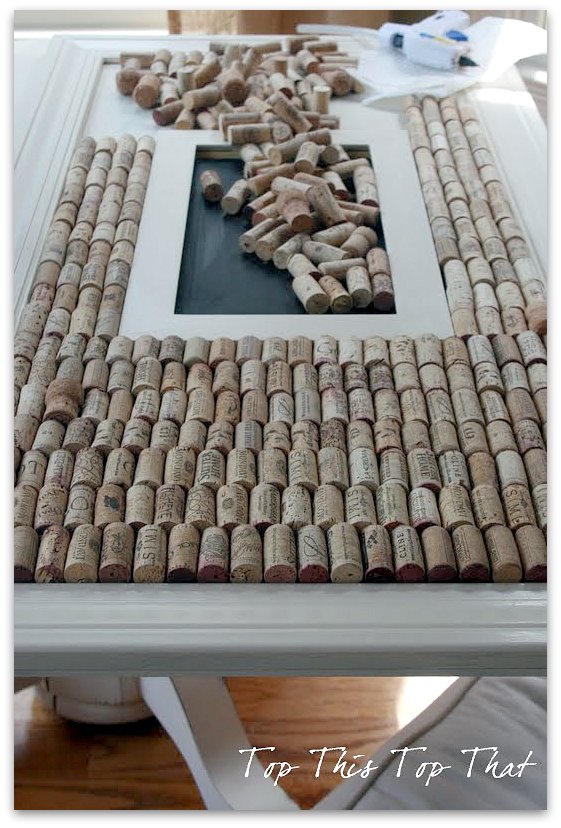
Today I wanted to show you how to put this combination chalk and cork board together .
Supplies needed
- Wine corks- lots of them
- Piece of MDF- my piece was pre-cut to 36inch x24inch
- trim for the outside frame
- picture frame for the chalkboard
- chalk paint
- paint for the outer frame- I used White Wheat
- liquid nails- to secure your frames
- hot glue gun- to secure your wine corks
Step 1) Cut your trim pieces for the frame. Assemble your boards on your piece of MDF.

Step 2) Secure your trim with liquid nails and clamp down to dry. You can also use finishing nails to secure.

Step 3) Paint the outside frame and your piece of MDF. I painted the inside as well in case any of it was showing through the corks

Step 4) Secure your inner frame for the chalk board with wood glue. This frame should also be painted BEFORE you apply your corks. Now is a good time to paint the inside of the chalk board with chalkboard paint.

Step 5) Assembly time! I spent a fair amount of time placing the corks down on my board BEFORE I applied any glue. Once I determined the placement of the corks I started to glue them down with my hot glue gun. I started one on side and worked my way over


Step 6) The board is ready to hang once you secure picture hanging wire and screws to the back.

Cheers!

It’s easy! Just enter your e-mail address.
Sharing with:


0 comments:
Post a Comment